
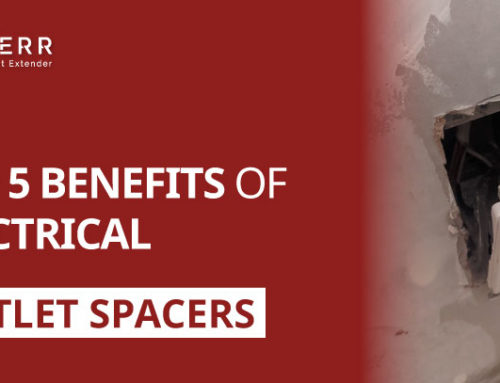
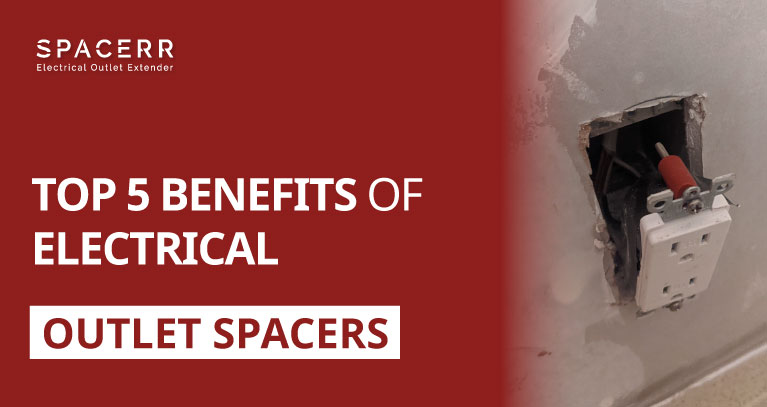
Have you ever seen a recessed outlet or an electrical outlet that doesn’t sit flush with the wall around it? It’s an ugly and potentially dangerous problem that luckily, has a simple solution. Recessed outlets can cause an unfinished look because the outlets are not flush with the surface around them. This can affect the safety of the sockets as well.
You may have seen some electrical box extender solutions online or in a hardware store and not realized what they were. A good quality electrical box extender is safe to use indoor and outdoor.
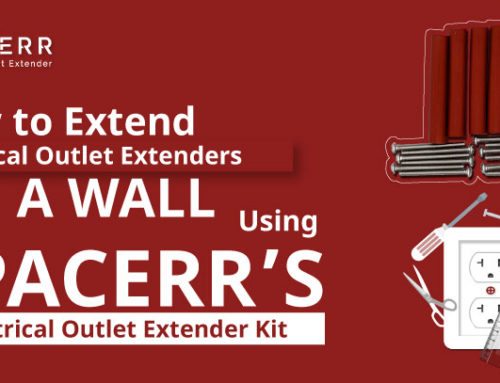
Our team decided to study other electrical box extender installation processes to create a design that would be simple and sturdy, an elegant process for an important problem. After studying other designs we came up with one that is affordable and very simple to use. In this blog post, we will show you how simple it is to install an electrical box extender.
The outlet box extenders we have work with a variety of materials. These include backsplashes, tile, drywall, or any construction that leaves outlets sitting too far into the wall. Sometimes people start a project and don’t realize till too late that they need outlet box extenders. If that’s
you, never fear, outlet spacers are here for you!
The end goal is to have an outlet cover that sits flush with the newly installed backsplash or wall. If your wall sockets are loosely secured to the wall, pushing and pulling on the plug can create sparks or other wiring problems that are dangerous.
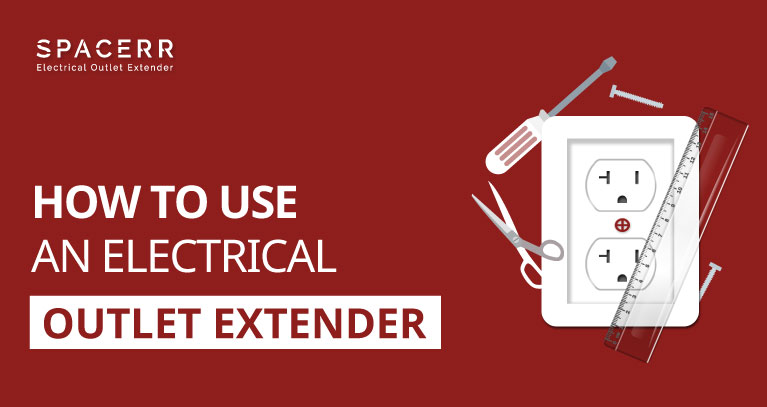
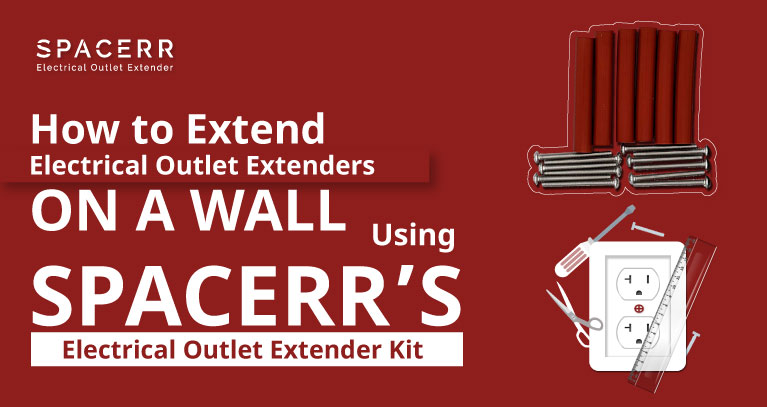
First things first, you’ll want to buy electrical box extenders to install. At Outletspacerr.com we offer inexpensive, high-quality, outlet spacers (or electrical box extenders) that are easy to use and durable.
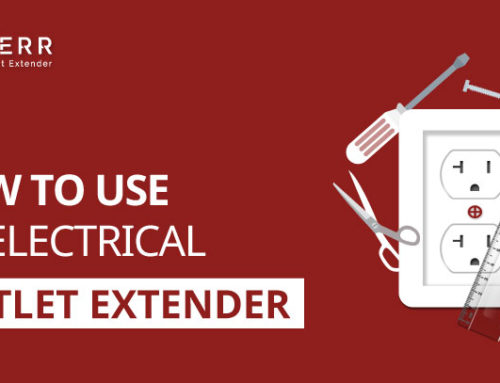
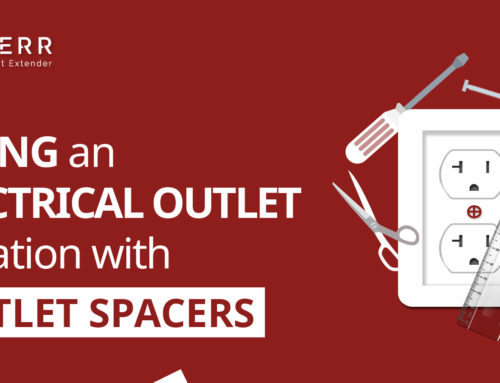
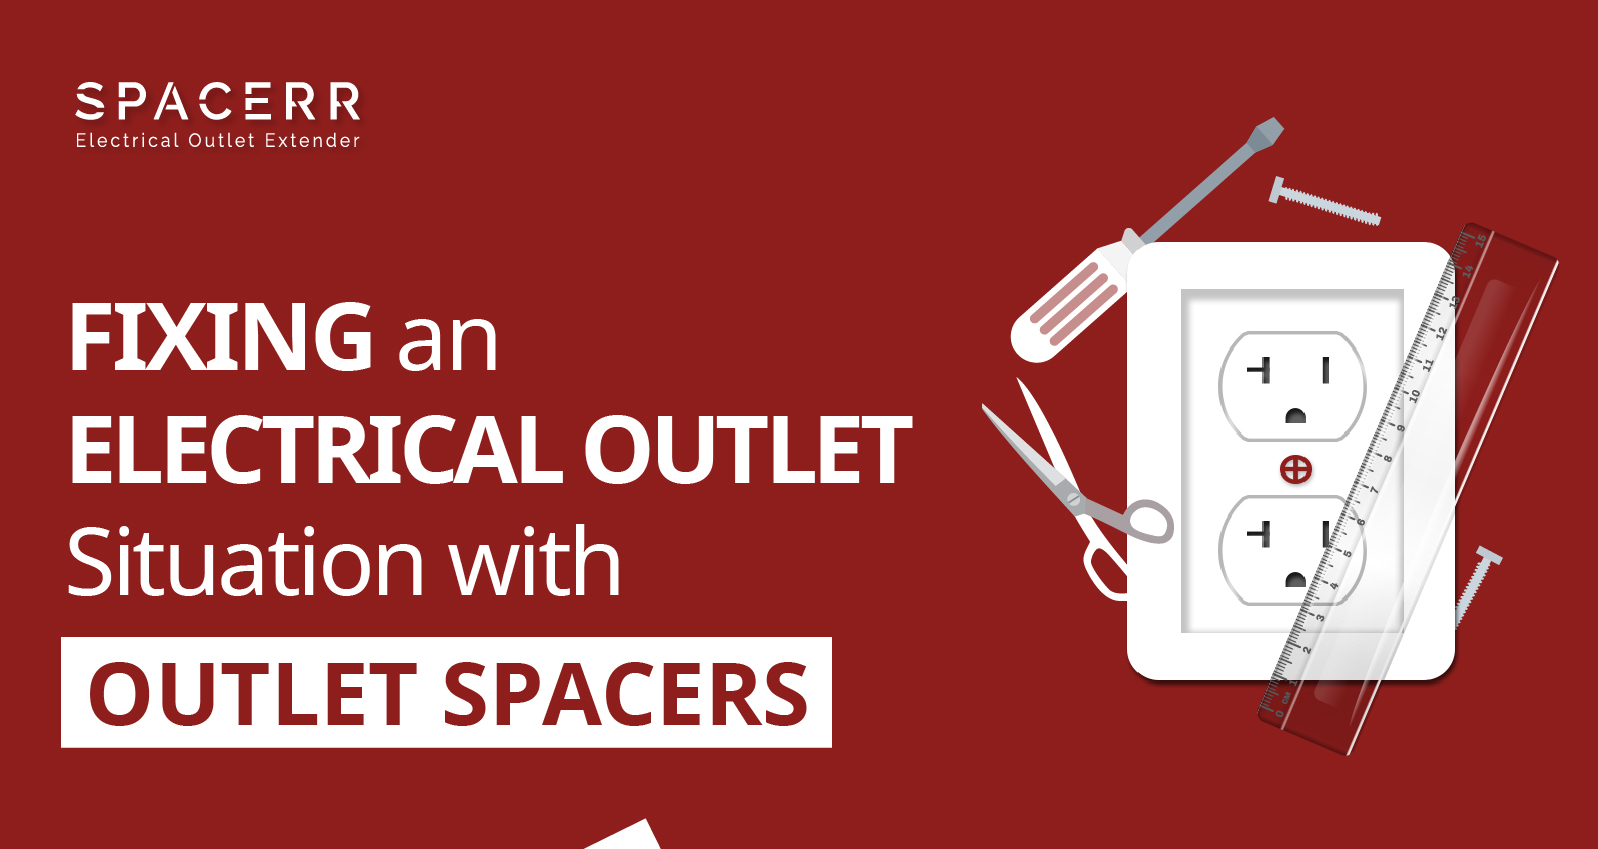
After you have purchased the amount of electrical outlet extender kits needed, the next step is very important: Turn the electricity off. Before working on electrical outlets, turn off the power to the area you are working on to protect yourself from electric shock. Make sure your family knows how to turn off the power to the house. Locate the main electrical panel and flip the main circuit breakers at the top to OFF. Important note: Always shut off any individual circuits before turning off the main circuit breaker. Once the electricity is off, you are ready to install the electrical box extenders. There are five steps to installing electrical outlet extenders for your wall with outlets:
1. Measure the area for your outlet extenders or spacers
2. Cut the outlet spacers to fit the wall socket or sockets
3. Add the spacer to the wall socket with the included screws
4. Tighten the outlet receptacle
5. Screw on the faceplate
Follow those five steps once you’ve purchased your electrical box extenders, and turned off the electricity and you will have outlets that look good and are safe!
Finished? Turn the electricity back on and enjoy your new finished look!
We hope that these instructions helped you learn how to install an outlet box extender kit to easily fix sunken plates or electric receptacles.
We pride ourselves in making honest electric outlet extenders. If you don’t love your electrical outlet box extender kit, simply return your electrical outlet spacers and we’ll refund you. No-fuss, no tricks, no fine print; just incredible service for you and your remodeling project
Leave A Comment