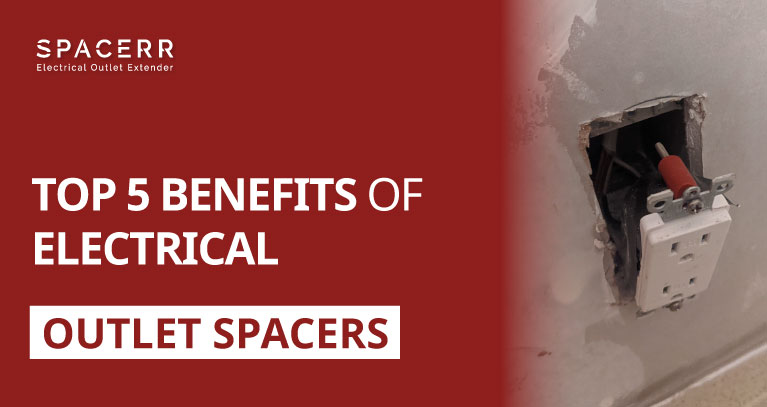
Electrical outlet spacers are products used to effectively install a wall plate over an electrical location when a material such as tile, backsplash, shiplap or other similar materials are installed on a wall. The use of tile or backsplash in your kitchen adds width to the wall and can create outlet installation issues. By using electrical outlet spacers, you can add as much space as you need using the spacers as a spacer between the outlet receptacle and outlet box in order to have it sit flush with the wall and again look consistent with your other home outlets. The importance of an electrical outlet spacer goes beyond just the look though, it can also help to support loose outlets and prevent wall plates from getting broken.
When using electrical outlet spacers you also eliminate the need to cut plate screws which can be a tedious undertaking. By adjusting the depth of switches or receptacles, you can achieve a proper fit for your wall plates. Outlets on walls that don’t use outlet spacers can give the impression that the outlet looks sunk into the wall in a sense – giving it an unfinished look. An easy fix is simply getting some electrical outlet spacers and taking on a small DIY project to provide a more polished looking visual.
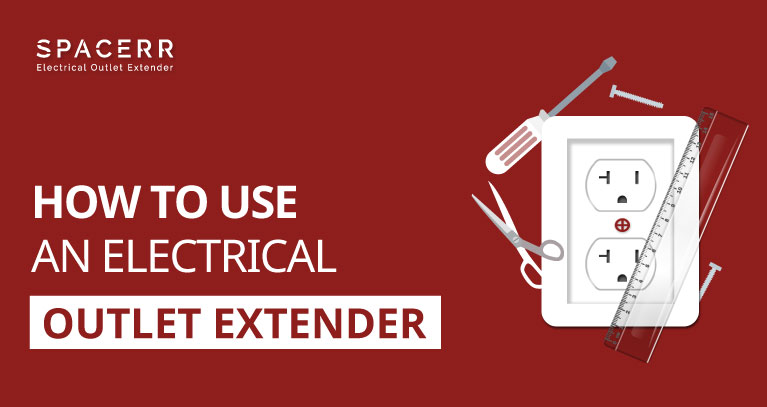
How do I install electrical outlet spacers?
Turn Off The Power
The first and most important thing that needs to be done is turning off the power to the areas of your home in which you will be working. It seems self-explanatory, but the last thing you want is potentially getting electrocuted while upgrading your outlets. Any project that involves electrical work must be done with the utmost care, please consult your local electrician, but if you want to continue on your own it all starts with cutting the power to the outlets you will be upgrading. You will need to go to your breaker panel and flip the switch or switches necessary, but be sure to test the outlets for power by plugging something in to see if it works or not, or even better, buy or borrow a voltage tester to check for electrical current.


1. Measure The Depth Needed
Measure the thickness of your wall’s material + an additional 1/8″ to determine the length of the spacer needed.

2. Cut The Spacer
Use a knife or scissors, and safely cut the spacer.

3. Slide Spacer Over Screws
Slide the spacer over the receptacle retaining screw between the receptacle and the outlet box.

4. Tighten The Screws
Tighten up the retaining screws until the receptacle tabs are even with the walls surface.

5. Replace Wall Place
Replace the wall’s cover plate and it will be secure and flush to the surrounding surface.
As you can see, electrical outlet spacers are handy little products that can add aesthetic and functional value to your home. By buying high-quality ones and taking the time to install them right the first time, you will feel proud of yourself and your outlets. Best of luck!

Leave A Comment